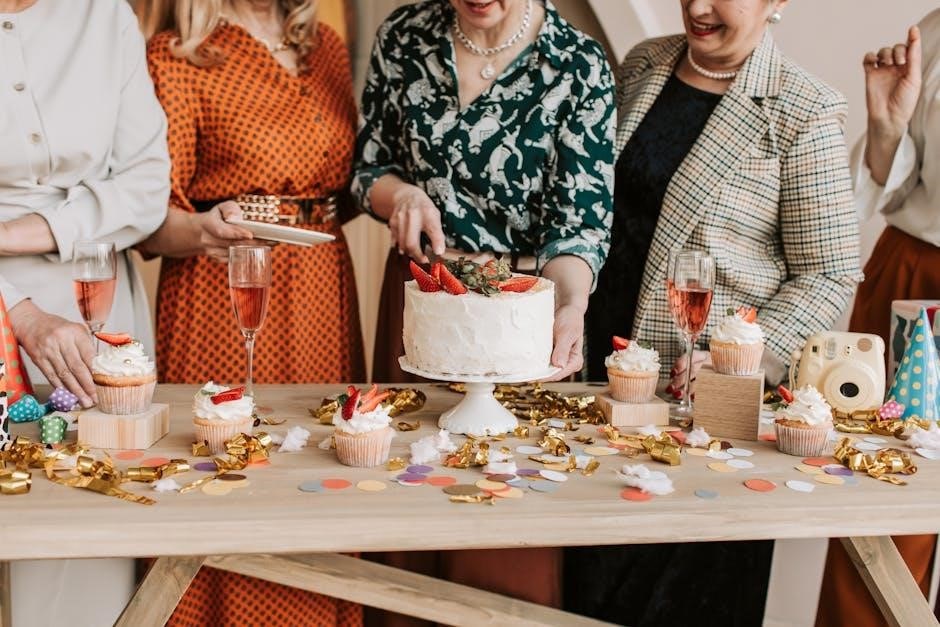
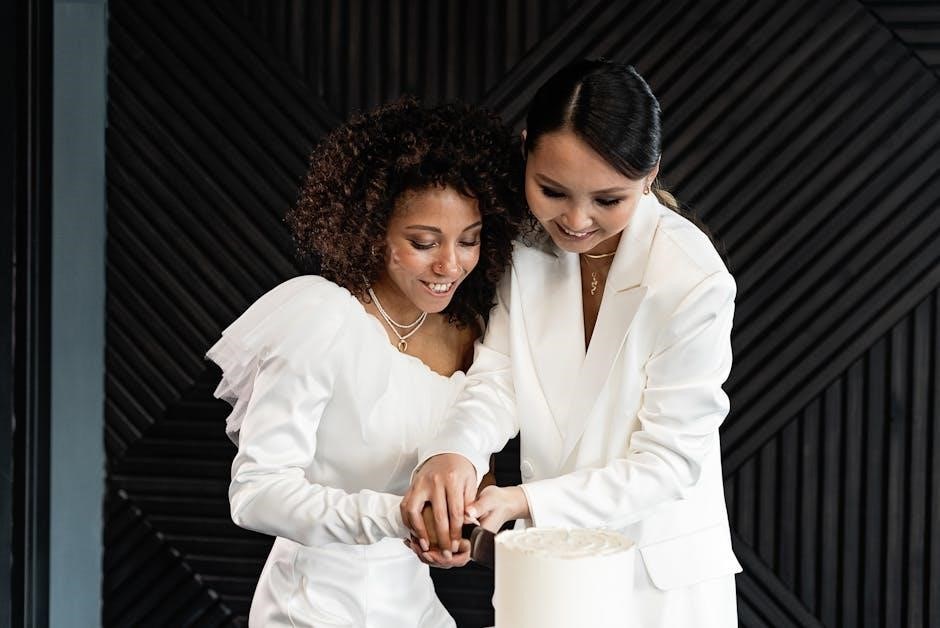
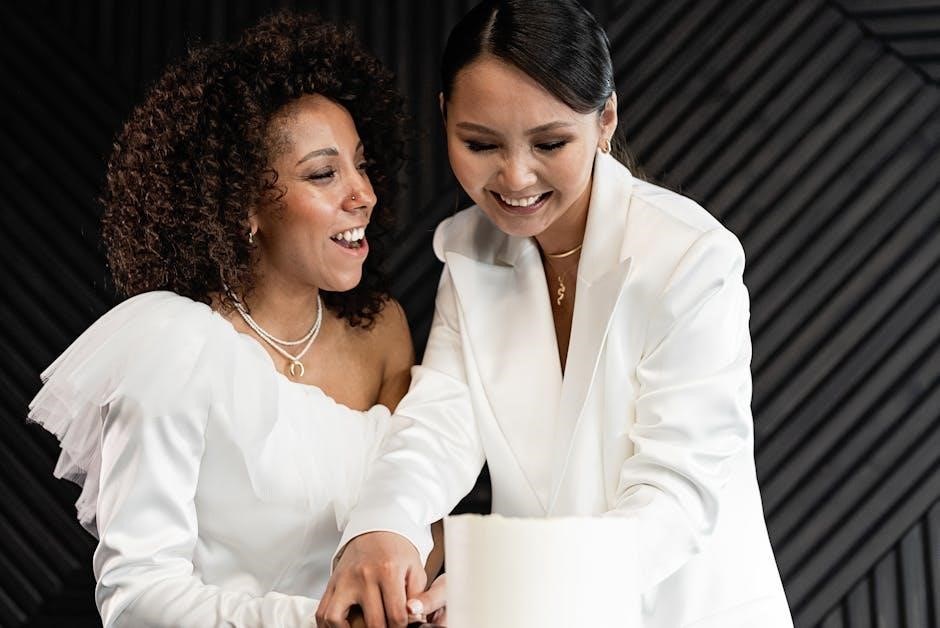
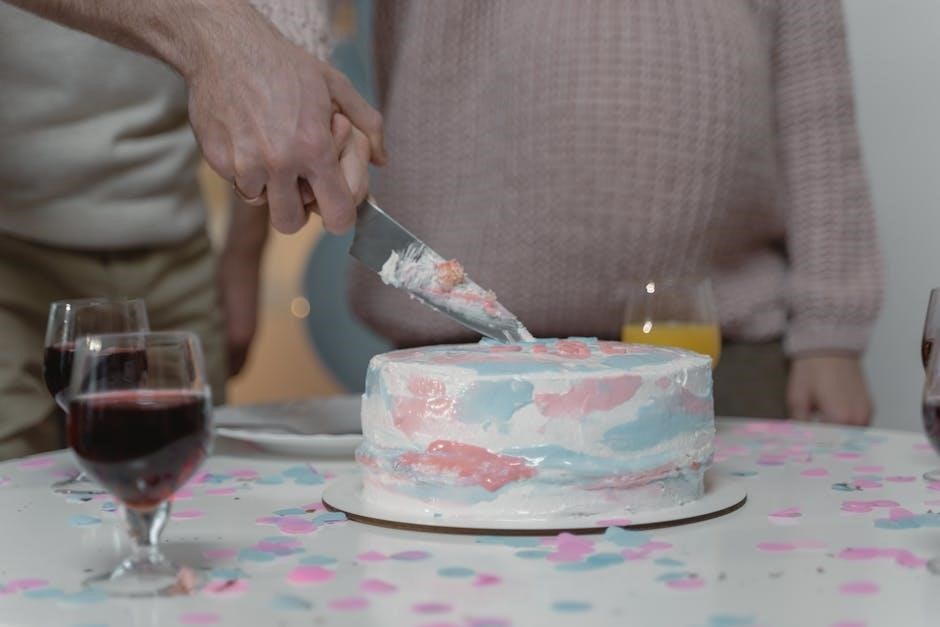
Mastering the art of cake slicing ensures smooth, even cuts and perfect portions. Start with the right tools: a serrated knife, cake turntable, and serving utensils. Slice vertically through layers for uniform pieces. Freeze the cake for cleaner cuts. Use portion guides for consistency. Elevate presentation with creative arrangements and garnishes.
Cake Shapes and Sizes
Cakes come in a variety of shapes and sizes, each requiring a slightly different approach to slicing. The most common shapes include round, square, rectangular, and heart-shaped cakes. Round cakes, often used for celebrations, are typically sliced into equal wedges, while square and rectangular cakes are cut into uniform rectangles or squares. Heart-shaped cakes are usually sliced from the bottom to the top, creating even portions.
Cake sizes can range from small, individual portions to large, multi-tiered masterpieces. Standard cake sizes often range from 6 to 12 inches in diameter, with larger cakes serving more people. When slicing, it’s important to consider the cake’s height and layers, as these can affect portion sizes. For tiered cakes, each tier is typically sliced separately, starting from the bottom tier to avoid damaging the upper layers.
Understanding the dimensions of your cake helps in portion control and presentation. A 6-inch cake might serve 4-6 people, while a 12-inch cake can serve 12 or more, depending on slice size. For even cuts, use a serrated knife and a cake turntable to rotate the cake as you slice. This ensures consistent portions and clean edges. Larger cakes may require additional tools, like cake slicers or wire cutters, for precision.
When choosing a cake shape and size, consider the event and number of guests. Round cakes are ideal for weddings and large gatherings, while smaller, square cakes work well for intimate parties. Always measure the cake before slicing to ensure equal portions and a professional finish.
Tools for Cake Slicing
The right tools are essential for achieving clean, precise cuts when slicing a cake. A serrated knife, preferably a long, thin-bladed cake knife, is the most critical tool. The serrated edge helps cut through the cake smoothly without tearing the layers. For larger cakes, a cake slicer or a chef’s knife with a long blade is ideal. A cake turntable is another valuable tool, allowing easy rotation of the cake for consistent slicing.
In addition to the knife and turntable, a serving spatula is necessary for transferring slices to plates without breaking the cake. For tiered cakes or multi-layered cakes, a cake leveler ensures even layers, making slicing easier and more uniform. If you’re dealing with a frosted cake, a sharp offset spatula can help smooth the frosting as you slice, creating a clean presentation.
Optional tools include cake cutting wires, which are especially useful for dense or tall cakes, and portion guides, which help measure equal slices. Dampening the knife with water or warming it slightly can also improve cutting precision, especially for cakes with hard frosting or delicate layers. Always use high-quality, sharp tools, as dull blades can tear the cake and make slicing uneven.
Investing in the right tools will make the cake slicing process more efficient and result in professional-looking slices. Whether you’re slicing a simple round cake or an elaborate multi-tiered masterpiece, having the proper equipment ensures a polished finish and even portions for every guest.
Basic Slicing Techniques
Mastering basic slicing techniques ensures your cake is cut evenly and neatly. Start by placing the cake on a stable surface, such as a turntable or cake stand, to allow easy access from all sides. For a clean cut, use a serrated knife and apply gentle pressure, slicing in a smooth, continuous motion. Freeze the cake for about 10 minutes before slicing to firm it up, reducing crumbs and making cuts more precise.
For round cakes, slice in a radial pattern, starting from the center and cutting outward. For rectangular or square cakes, cut parallel lines across the cake, measuring equal distances for uniform portions. To prevent the knife from sticking, lightly coat it with non-stick cooking spray or a small amount of oil. After each slice, wipe the knife clean with a damp cloth to remove crumbs and frosting residue.
When slicing layered cakes, use a long serrated knife to cut horizontally through each layer before stacking. For tiered cakes, slice each tier separately to maintain stability. Always slice in one direction, using a gentle sawing motion, to avoid tearing the cake. For particularly delicate cakes, consider using a cake wire or sharp, thin-bladed knife for cleaner cuts.
By following these techniques, you’ll achieve smooth, even slices and a professional presentation. Practice makes perfect, so experiment with different methods to find what works best for your cake type and design.
Portion Control
Portion control is essential for ensuring that every guest receives a consistent and fair share of cake. Start by determining the number of servings needed, using standard cake serving guides as a reference. For round cakes, a typical serving size is a slice that’s 1-1.5 inches wide at the crust. For rectangular or square cakes, aim for slices that are 1-1.5 inches wide and 4-5 inches tall.
Use visual markers or guides to help maintain uniformity. For round cakes, place toothpicks or small markers around the perimeter at equal intervals to indicate where slices should begin and end. For rectangular cakes, measure and mark the cake with a ruler or knife to ensure even divisions. This method works particularly well for large events or weddings, where consistency is key.
For tiered cakes, portion control becomes more complex. Each tier should be sliced separately, with the bottom tier typically yielding the most servings. To avoid overwhelming guests, consider pre-slicing the cake into uniform portions and arranging them on a serving tray or individual plates. This approach also makes it easier to manage buffet-style service or formal presentations.
Remember, portion size can be adjusted based on the occasion. For example, wedding cuts are typically thinner (1 inch wide), while party cuts may be slightly larger (1.5 inches wide). By mastering portion control, you ensure that every slice is satisfying and visually appealing, making your cake a memorable part of any celebration.
Tips for Even and Clean Cuts
Achieving even and clean cuts is crucial for a professional-looking cake; Begin by ensuring your knife is sharp and suitable for cake slicing, such as a serrated or cake knife. A dull knife can tear the cake, leading to uneven pieces. For the cleanest cuts, chill the cake in the freezer for about 10 minutes to firm it up, making it easier to slice without crumbling.
Use a cake stand or turntable to easily access all sides of the cake. Place the cake on a flat, stable surface and plan your cuts in advance. For round cakes, imagine dividing the cake into equal sections, marking the top with toothpicks if needed. Slice in a smooth, continuous motion, applying gentle pressure. Avoid sawing back and forth, as this can create uneven edges.
For layered cakes, insert a dowel or skewer through the center to stabilize the layers before slicing. Cut through all layers at once, using a long, even stroke. If the cake has frosting, wipe the knife clean between cuts to prevent frosting from building up and smearing. For especially clean cuts, dip the knife in hot water, wipe it dry, and slice immediately.
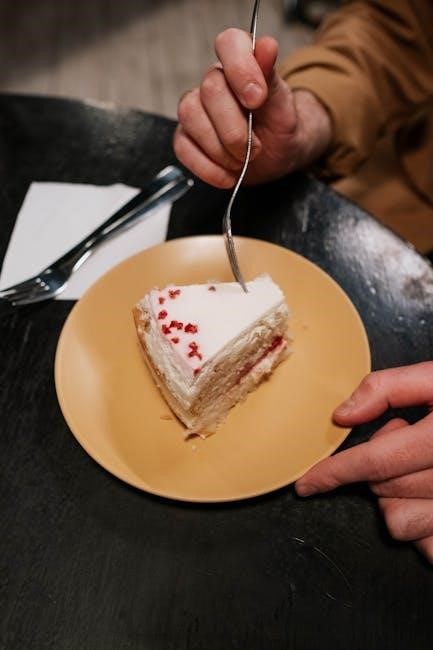
Finally, serve slices immediately after cutting to ensure the cake remains fresh and moist. By following these tips, you can achieve perfectly even and clean cuts, making your cake as visually appealing as it is delicious.
Handling Different Cake Types
Different types of cakes require unique slicing techniques to ensure clean cuts and maintain their structure. For sponge cakes, which are light and airy, use a serrated knife and a gentle sawing motion to prevent tearing. It’s best to slice these cakes while they’re fresh, as they become more delicate when stale.
Tiered cakes, often used in weddings, present a challenge due to their multiple layers. Start by slicing the bottom tier, working your way up. Use a long serrated knife and a cake stand to turn the tiers easily. Insert a dowel or skewer through the center to stabilize the layers before cutting.

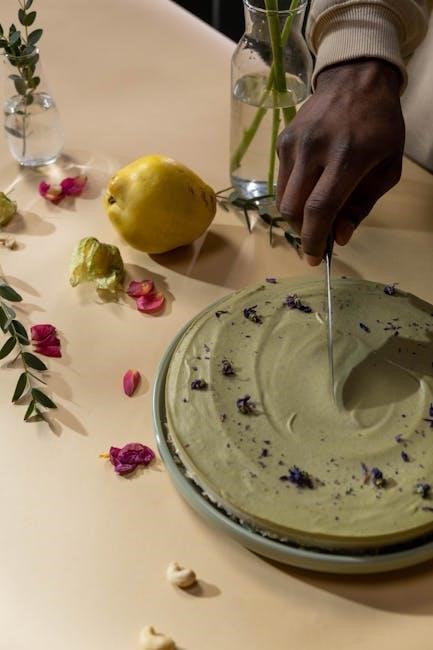
Cheesecakes and dense flourless cakes benefit from being chilled before slicing. Dip a sharp knife in hot water, wipe it dry, and cut through the cake in smooth, even strokes. This prevents the cake from sticking to the knife and ensures clean edges. Repeat the process between cuts for the best results.

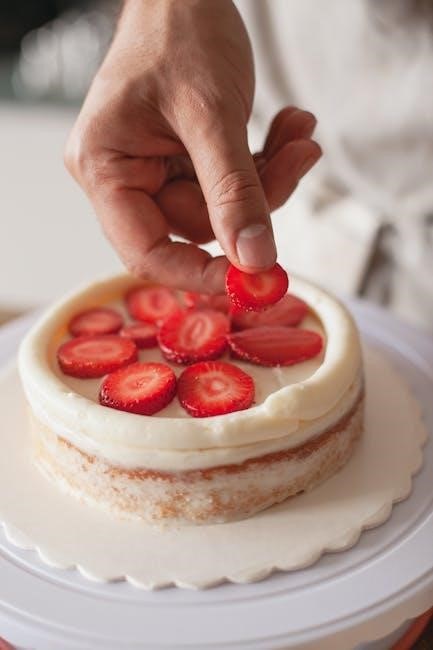
Naked cakes, which have minimal frosting, require extra care to avoid exposing the cake’s interior too much. Slice gently and use a cake server to lift each piece without breaking. For gluten-free cakes, which can be crumbly, use a serrated knife and a light touch to minimize crumbling.
By adapting your slicing technique to the type of cake, you can maintain its appearance and ensure every slice is as appealing as the first. Each cake type has its quirks, but with the right approach, you can achieve professional-looking results every time.
Storing Sliced Cake
Proper storage is essential to maintain the freshness and texture of sliced cake. Always use an airtight container to prevent exposure to air, which can cause drying. For short-term storage (up to 2 days), keep the cake at room temperature, away from direct sunlight. If the cake has a creamy frosting or filling, refrigeration is recommended to prevent spoilage.
When refrigerating, place the slices in a single layer in a covered container or wrap them tightly in plastic wrap or aluminum foil. This prevents moisture loss and absorption of odors from other foods. For longer storage (up to 3 months), consider freezing. Freeze slices individually on a baking sheet, then transfer them to a freezer-safe bag or container. This allows you to thaw only what you need.
To thaw frozen slices, leave them at room temperature for about 30 minutes or refrigerate overnight. Avoid refreezing thawed cake, as it can affect texture and flavor. For best results, slice the cake just before serving, as pre-sliced cakes tend to dry out faster. If storing an unsliced cake, wrap it whole and slice it just before serving for optimal freshness.
For decorated cakes, ensure the storage container is large enough to accommodate the cake without damaging the design. If storing frosted slices, place parchment paper between layers to prevent sticking. Proper storage ensures your cake remains delicious and visually appealing for a longer period.
Common Mistakes to Avoid
When slicing a cake, several common mistakes can ruin the presentation and even the texture of the cake. One of the most frequent errors is rushing the slicing process. Cutting too quickly can lead to uneven slices or even breaking the cake. Always take your time to ensure smooth, deliberate cuts.
Another mistake is using the wrong knife. A dull or non-serrated knife can tear the cake instead of cutting it cleanly. Always use a sharp, serrated knife designed for slicing cakes. Additionally, applying too much pressure can compress the cake layers or frosting, causing it to become misshapen. Gentle, consistent pressure yields better results.
Many people forget to freeze the cake before slicing, especially for layer cakes. Freezing firms the cake, making it easier to slice cleanly without crumbling. Avoid slicing a warm cake, as it will be soft and prone to tearing. Let it cool completely or refrigerate it for about 10 minutes before slicing.
Not using a cake turntable is another oversight. A turntable allows you to access all sides of the cake easily, ensuring even slicing. Lastly, never slice without clearing the knife between cuts. Crumbs and frosting can accumulate on the blade, leading to messy slices. Wipe the knife clean with a damp cloth or paper towel after each cut for pristine results.
By avoiding these common mistakes, you can achieve professional-looking slices and enjoy your cake at its best. Attention to detail and proper preparation are key to a flawless cake-slicing experience.
Creative Presentation Ideas
Creative presentation can elevate your cake from a simple dessert to a stunning centerpiece. One popular idea is to arrange sliced pieces in a decorative pattern on a large serving platter or cake stand. Alternate slice orientations for visual interest, and fill gaps with fresh berries, edible flowers, or chocolate shavings for a polished look.
Consider using a multi-tiered stand to display slices at varying heights, creating a dramatic effect. Drizzle the top of each slice with ganache, caramel, or fruit glaze for added appeal. For themed events, match the presentation to the occasion—e.g., use red and pink toppings for Valentine’s Day or blueberries for a summer celebration.
Another creative approach is to pair each slice with a complementary treat, such as a macaron, chocolate truffle, or sprinkle of powdered sugar. This not only enhances the visual appeal but also offers a delightful flavor combination. For a rustic look, place slices on a wooden cutting board or parchment-lined tray and sprinkle with powdered sugar.
Lastly, consider the power of garnishes. Top each slice with a single large berry, a sprig of mint, or a chocolate curl to create a cohesive and elegant presentation. Coordinate the colors of your garnishes with the event’s theme for a seamless aesthetic. These ideas ensure your cake slices are as visually stunning as they are delicious.